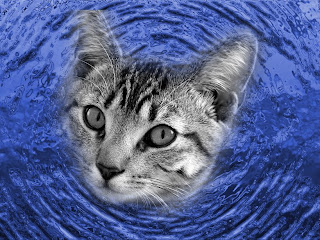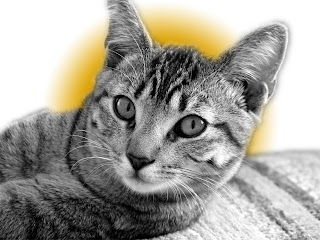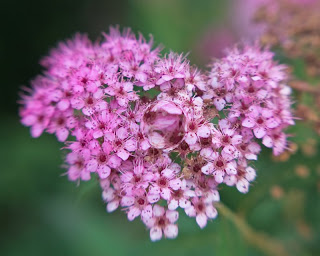
You have to really look twice a lot of photos. Even looking twice -- do you really think you can tell if something is real or created? I know that I used to think if I saw a photo of something I could believe it. But sometimes seeing is not believing...
When I first got into digital I was not interested in manipulating photos -- much. In fact, I would limit myself to crop, contrast, sharpening and overall minimal tweaking -- but nothing to really 'change' what was in the photo. The aspect of digital manipulation that first attracted me was photo restoration. I never really spent much time at all -- even on removing pollen specs on flower until after I started fixing the small specs on 50+ year old photos.
I don't know why I was reluctant to manipulate an image. Photographers in the dark room had been doing it forever. Somehow I felt I was not being true to the viewer if I altered the image from what it was originally. There are photo contests out there that require any entry to be an unmanipulated image -- the only things you can do is the simple adjustments to contrast, sharpening, etc. If you go beyond that to removing objects -- it is a step too far. Most of the time a contest with such strict rules will have a separate category for manipulated images and the gloves are off in that group as to what you can do -- you can do just about anything!
Some contests group everything together -- color, black and white, and manipulated all in one category. I used to have a problem with that but I have changed my mind. I see that type of contest to be more about the art than the technically sound photo. In the contest with strict rules -- anything not technically good photos is not going to get very far. Sometimes a blown highlight can be a good thing -- it is all in the art of the photo. The way I see the contest with the wide-open categories is that it is more about art and the image itself than fitting an image into a box of 'photography only;' forsaking the art of it.
After all this blabbing about manipulating -- I have been playing more with Elements over the past month than I think I ever have. I saw something in a book about adding a drop of "water" to something -- so I played with that. I tried it numerous times. Most of those tries came off looking like I fudged with the photo. One of them though -- looks pretty darn good. That is the one on this entry. I simply used the lasso tool to create a selection. Then went to Filters>Distort>Spherize. I found that this needed to be repeated two or three times to get the look I wanted. Many times -- no matter how many times I did it -- I did not get a look I wanted. Frankly, I don't know if this is something I will ever really play with again -- but it sure was interesting to make something like this look so realistic.
I still stand by my standard of trying to get the closest to what I want with the camera and minimize the computer time for editing. I like my camera much more than I like the computer.
Now -- a by-the-way about the last blog....I don't really want to come off like I am picking on Shutterfly. (but I guess I am.) They were not the only entity that turned me down during my quest. They surely won't be the last. (sniff, sniff) I can take rejection. But they (well this one person specifically) was pretty rude about it. That was the difference. It was not about me being told "no." It was about the way it was done.